Photogrammetry for 3D Mapping of Caves
First experiments with a small cave 2
Comparing Lidar and photogrammetry models 6
“Photogrammetry is the science and technology of obtaining reliable information about physical objects and the environment through the process of recording, measuring and interpreting photographic images and patterns of electromagnetic radiant imagery and other phenomena.” -- Wikipedia
After learning about a technique called photogrammetry and inspired by the work done by Jari Arkko [1] [2] in cave 3D mapping I decided to try photogrammetry in caves. Since I do not have Lidar tools available but I do have a camera this sounded like an interesting experiment.
This text describes my first results after starting to experiment with photogrammetry.
Photogrammetry is not a new technique and it has already been used in caves before. I found the article “Joseph H. Jordan: Modeling Ozark Caves with Structure-fromMotion Photogrammetry: An Assessment of Stand-Alone Photogrammetry for 3-Dimensional Cave Survey” [3] very useful. Also article “L. Alessandri, V. Baiocchi, S. Del Pizzo, M. F. Rolfo, S. Troisi: Photogrammetric survey with fisheye lens for the characterization of the la sassa cave” [4] was interesting.
There are a lot of free software for photogrammetry.
After a quick research I decided to start with Meshroom. So far I have been pretty happy with that choice. Meshroom is very easy to use, you just add input images and press the start button. The problem with Meshroom is that it works only in Windows or Linux and requires a Nvidia graphics card. Luckily I inherited a gaming laptop with an Nvidia card from my kids :-) So far it looks like the basic model is pretty good but there are also a lot of incorrect alignments outside of the correct model. So quite a lot of cleanup is needed. I have been running with default settings so maybe some tuning would help.
RealityCapture promised better performance. I have tried that quickly and it produced a great looking model quite quickly. Unfortunately it could not build the mode correctly. Maybe parameter changes could help.
Agisoft MetaShape (previously PhotoScan) was used in [3] and [4] but since it is not free software I have not tried it.
For cleanup, export and combining models I have used Blender. So far that has worked fine but some more learning is needed for cleanup, model scaling, combining models, etc. MeshLab is another free software that looks promising.
For other software, Meshmixer failed to start on my machine. InstantMeshes looks promising for making smaller models but it could not work on my cave model.
Meshroom creates a pretty big mesh. Following some instructions I used a MeshDecimate node to reduce the model size. The decimated mesh had some weird incorrect sides in the model. Only after some time did I go back to check with the bigger original model and noticed that it was much cleaner. So it looks like the MeshDecimate node also makes some artefacts and the result is also a lot worse.
Now I need to find a better way to reduce the model to be more manageable.
Interestingly the settings below seem to generate a better model for the top part of the Torhola cave but the worse results for the bottom part.
Obviously more experimenting is needed. Removing “Feature Matching - Guided matching: enable” did not make any change. Next testing “Describer Types: check akaze”.
I started my first experiment with a very simple Högberget cave. For mapping Högberget cave I used a DSLR camera with a wide angle lens (15 mm full frame equivalent) and a ring light. I used a traditional technique where I tried to take multiple photograms from all angles. The cave is very small and narrow so I ended with a lot of images where quite a few of them I believe were unnecessary. The results were still quite promising for the first test.
A rotatable transparent 3D model of the Hörberget cave can be found here:
https://ruuth.xyz/3dtest.html?m=3dhogberget.glb
One of the problems with this experiment was that the ring light was not very powerful and using a DSLR in a real cave with tight spaces and water and mud did not feel like a good idea.
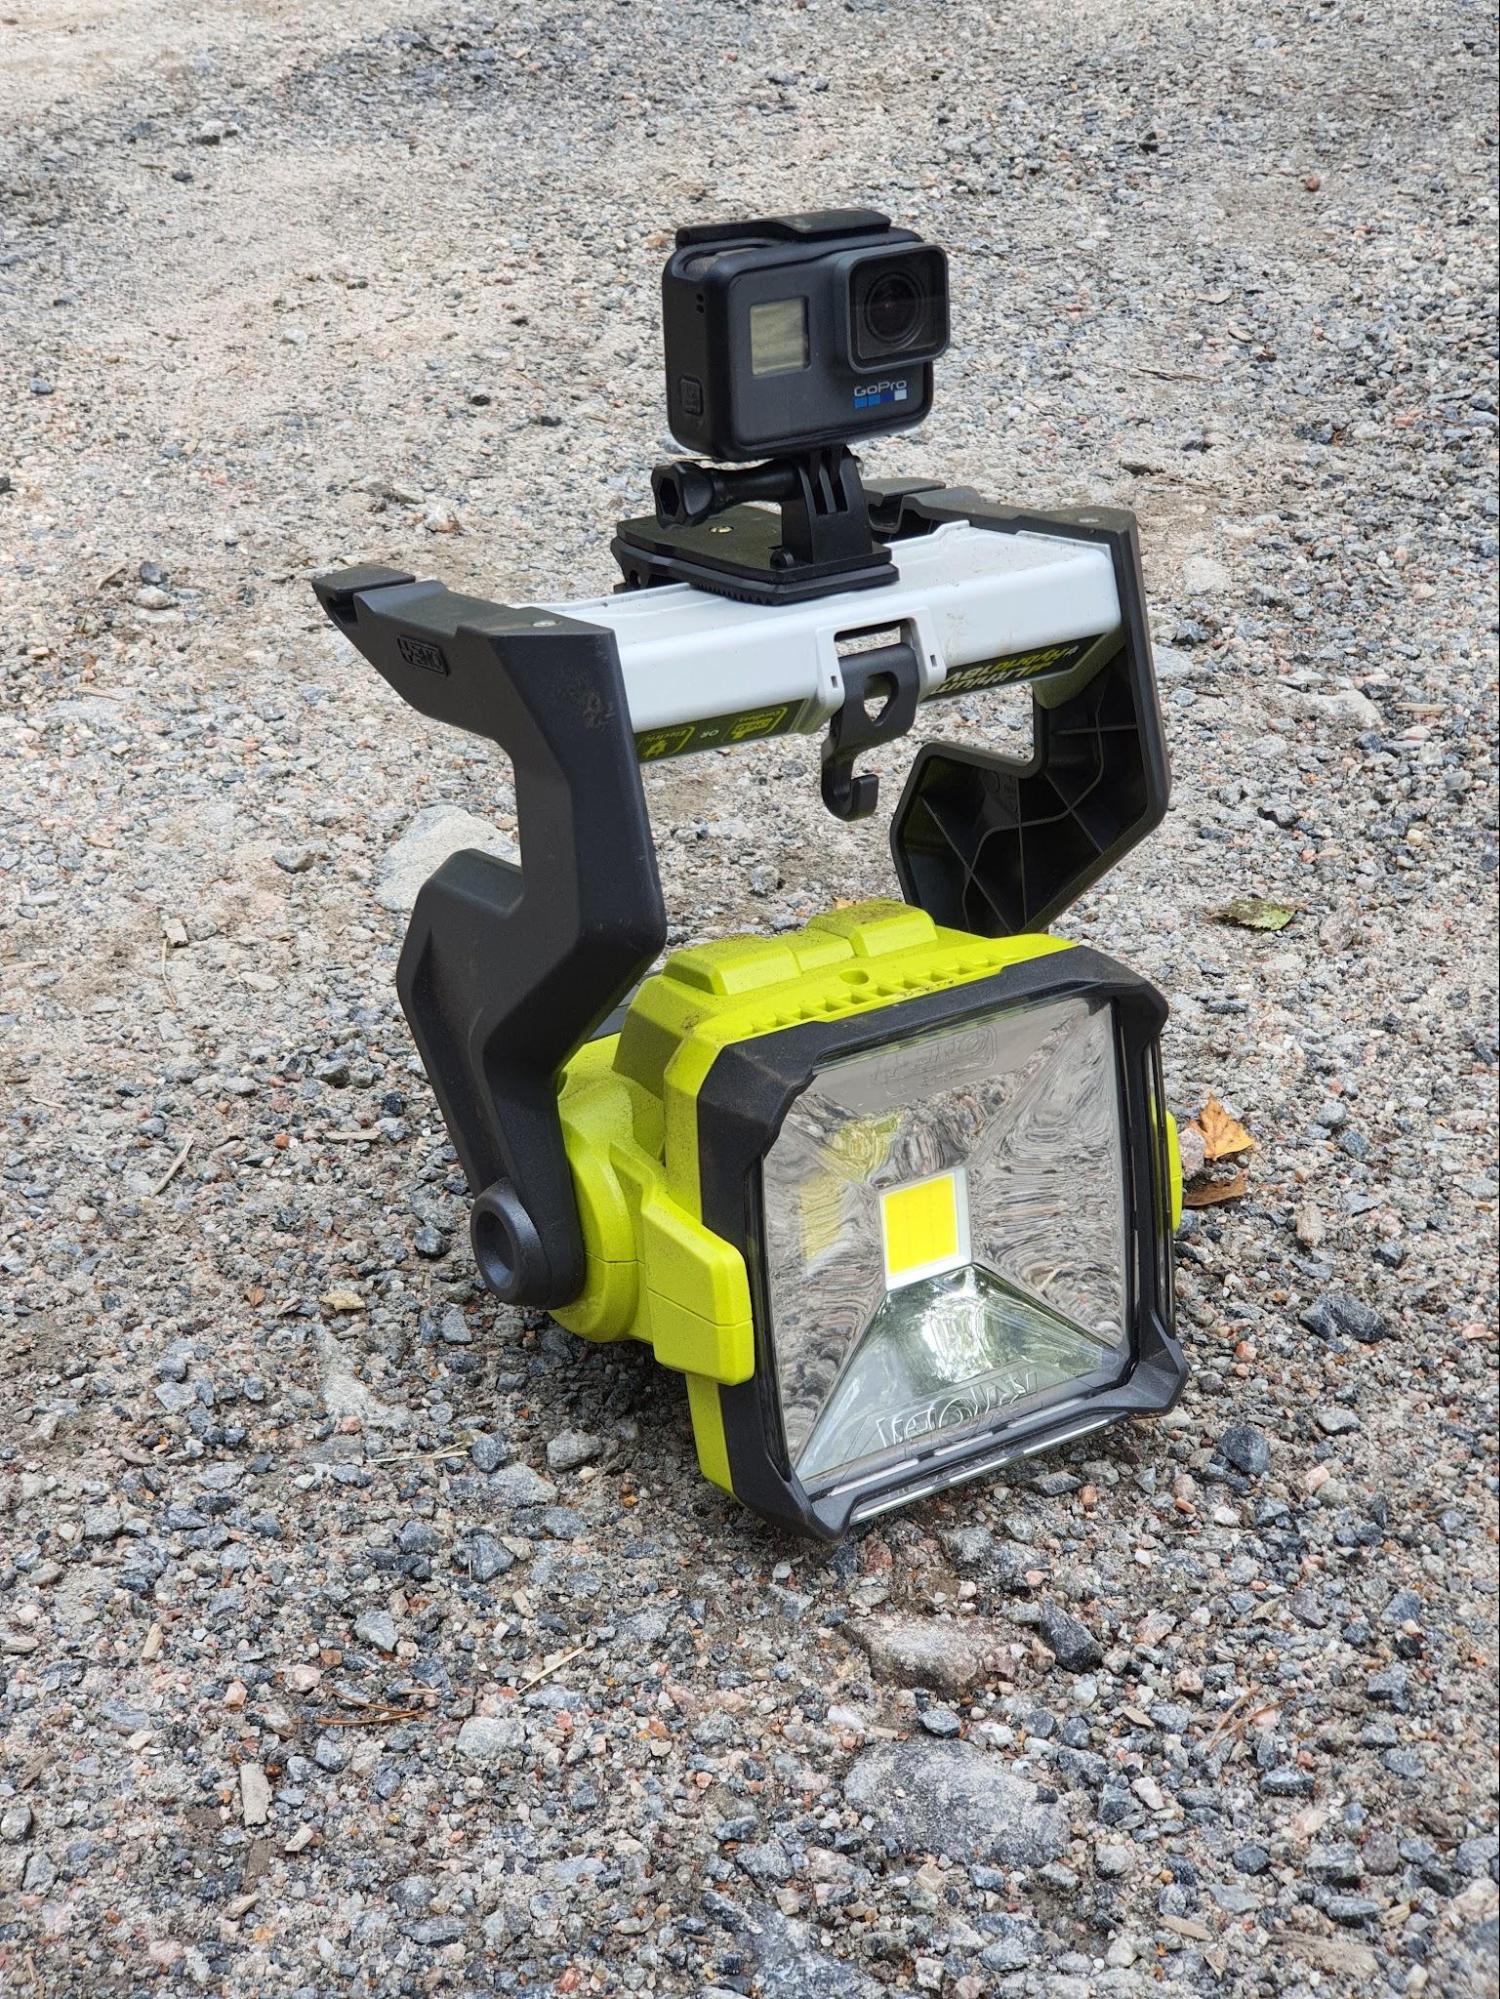
After the first experiment I did some search on the internet. I came up with an article [3] which used a Gopro camera and a portable work light for taking images. That sounded like a good setup as I already had a Gopro camera and I just needed to get a portable work light.
There are many benefits of using Gopro in a cave. It has a very wide angle lens, fixed focus and aperture and depth of field is almost from zero to infinity. It is also a rugged camera that is waterproof and can take some hits. My model is a Gopro 6 which has a screen for framing.
One of the problems is that Gopro is not very good at low light and in caves there usually is no light. Most headlamps are not powerful enough or the beam is very narrow. So I used a battery powered work light as the light source for cave photos. It turned out to be a good solution. Work light has a very wide beam that was wide enough for Gopro 122 degree of FoV. This model promised to produce 1800 lumens of light and it seemed to be enough for this cave as very few images were blurry or too dark. I was also able to attach Gopro camera to the work light which made things easier and avoided some human errors in the process (but not all of them :-).
For my first real cave mapping experiment I chose Torhola cave. It is one of the rare karst caves in Finland and feels like a real cave. The cave is about 30 meters long so it is not very long (except in Finland). It is reasonably close to the place where I live, which is convenient . And one major advantage is that Jari Arkko has already done a 3D model using iPhone Lidar [1] so I could compare these two methods.
I decided to divide the mapping into two parts. First part of the cave is pretty wide and open. In the second part you need to drop into a small hole and crawl to the end of the cave.
Photo capture method was basically the same as in [3]. Idea is to take a wide angle picture that covers both walls, roof and floor all at the same time when walking through the cave. I did take some side pictures and backward pictures too to try to minimize holes in the model.
First open part of the cave is relatively easy to map. In my case there are some holes in the model but I believe that is just a problem with the mapper person.
In the second smaller part I ran into some problems. In the first try I took too few photos to get any realistic model of the cave. In the second try I took a lot more frequent photos. When going through tight parts you need to take photos a lot more frequently to ensure a proper overlap.
The second part of the model is done using only photos taken when going towards the end of the cave. It does not include any photos taken in the other direction except a few in the very last part of the cave. Also two smaller side tunnels are not there yet. These are something I need to work on.
I took all the photos with a single light source. You should get better results with more lights and maybe other people pointing and positioning the lights..
Processing was done using scaled down images. All images from Gopro were scaled to a size where the longest side was 2000 pixels.
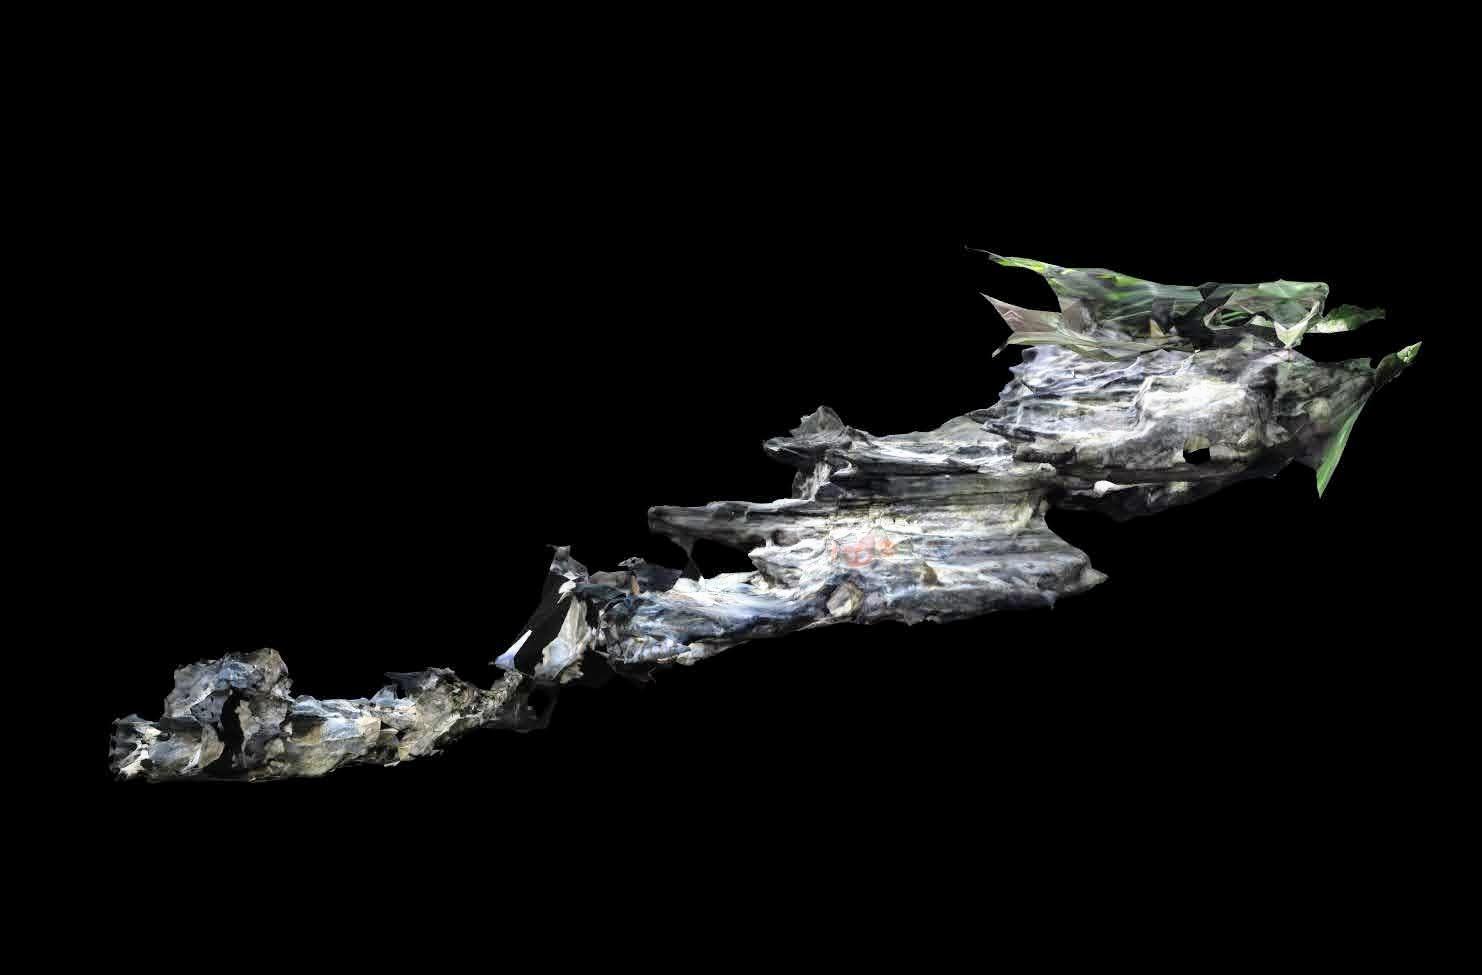
Below is a screen capture of the point cloud and camera positions (StructureFromMotion) calculated by Meshroom.
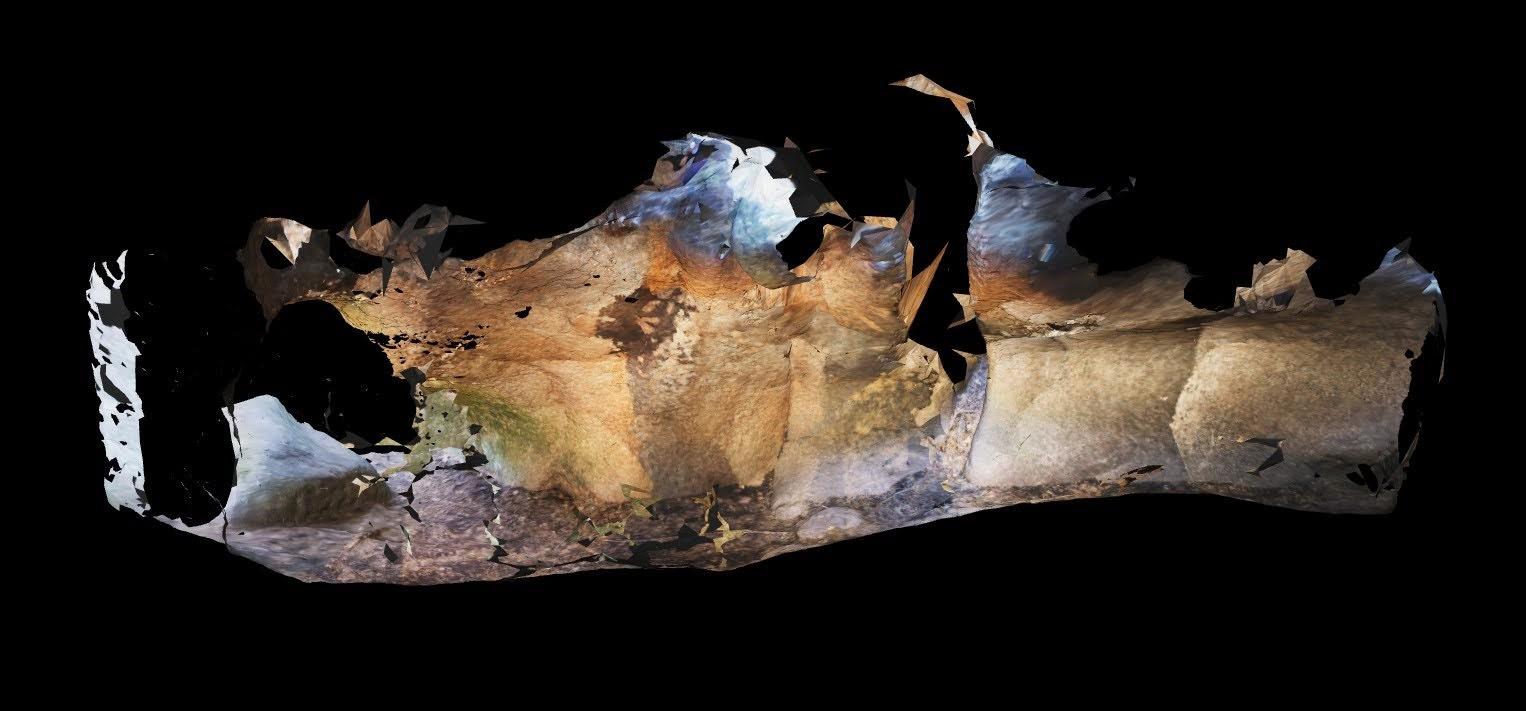
Below is a screen capture where I have combined two models together. I combined the models in Blender. This is just a rough model that was manually scaled and aligned.
A rotatable transparent 3D model of the first part of the Torhola cave is here:
https://ruuth.xyz/3dtest.html?m=Torhola1.glb
A rotatable transparent 3D model of the second part of the Torhola cave is here:
https://ruuth.xyz/3dtest.html?m=Torhola2.glb
A rotatable transparent 3D model of the combined Torhola cave is here:
https://ruuth.xyz/3dtest.html?m=Torhola_v1_open.glb
A rotatable closed 3D model of the combined Torhola cave is here:
https://ruuth.xyz/3dtest.html?m=Torhola_v1_closed.glb
In the link below it is possible to visually compare Jari Arkko’s Lidar based model to a model generated using photogrammetry.
https://ruuth.xyz/3dtest.html?m=Torhola_v1_lidar_vs_photo.glb
I did some experiments by capturing photos from a video but the results were not very good. With video it was very easy to cover a lot of space but unfortunately I ended up with too many blurry images. Blurry images cannot be aligned properly in photogrammetry software. Better light or better technique might help here.
I measured some real objects in the cave and used those measurements to roughly translate both models to a real world size. This was done in Blender by creating a cube that matches with the real measurement. The cube was placed to the measured object in the cave and then scaled so that cube and object sizes match. This of course gives just an approximate size.
Then two models were aligned to match on the common part. The angle between these two models is just a visual approximation.
This methods gives Torhola cave outside size as:
length 28.4 m
width 12.5 m
height 9.4 m
These numbers mean that Torhola cave would fit inside of a box with those dimensions.
To get an idea how long it takes to process a model on a computer, I have added timings from one example. These are Meshroom processing times for part two of the model, 119 images scaled down to 2000 pixels on the longest size.
There are obviously many open issues with this experiment. I am listing below some of those. As I just started the cave mapping and photogrammetry some of these may be trivial ones.